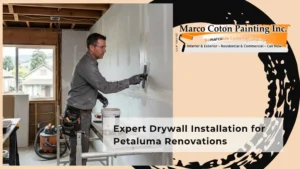
Popcorn ceilings were once popular for hiding imperfections and reducing noise, but today, many homeowners want them gone. The rough texture traps dust, darkens rooms, and makes spaces feel dated. In Petaluma, homeowners remodeling older houses often place popcorn ceiling removal at the top of their upgrade list.
If you’re considering removing popcorn ceilings, knowing what to expect helps you plan properly and avoid surprises. This guide explains the full process, common challenges, safety concerns, and why professional removal is the smartest option.
A Real Petaluma Homeowner Scenario
A family purchased a 1970s home with popcorn ceilings throughout. They planned to repaint and install new flooring, but once work began, they noticed dust constantly falling from the ceiling texture. The living room looked darker than it should, and patching small cracks became impossible.
After hiring a professional popcorn ceiling removal service, the ceilings were tested, safely removed, smoothed, and refinished. The home immediately felt brighter, cleaner, and more modern.
This type of situation is common in Petaluma homes built before the 1990s.
Why Homeowners Choose Popcorn Ceiling Removal
Popcorn ceilings create several problems:
- Collect dust and allergens
- Difficult to clean
- Hide cracks and water stains
- Make rooms look outdated
- Complicated lighting upgrades
Removing them instantly improves appearance and indoor air quality.
Step 1: Initial Inspection and Testing
Before any removal begins, professionals inspect the ceiling and determine its age. Many older popcorn ceilings may contain asbestos.
Why Testing Matters
- Protects occupants
- Ensures safe handling
- Determines correct removal method
If asbestos is present, specialized containment and disposal procedures are required.
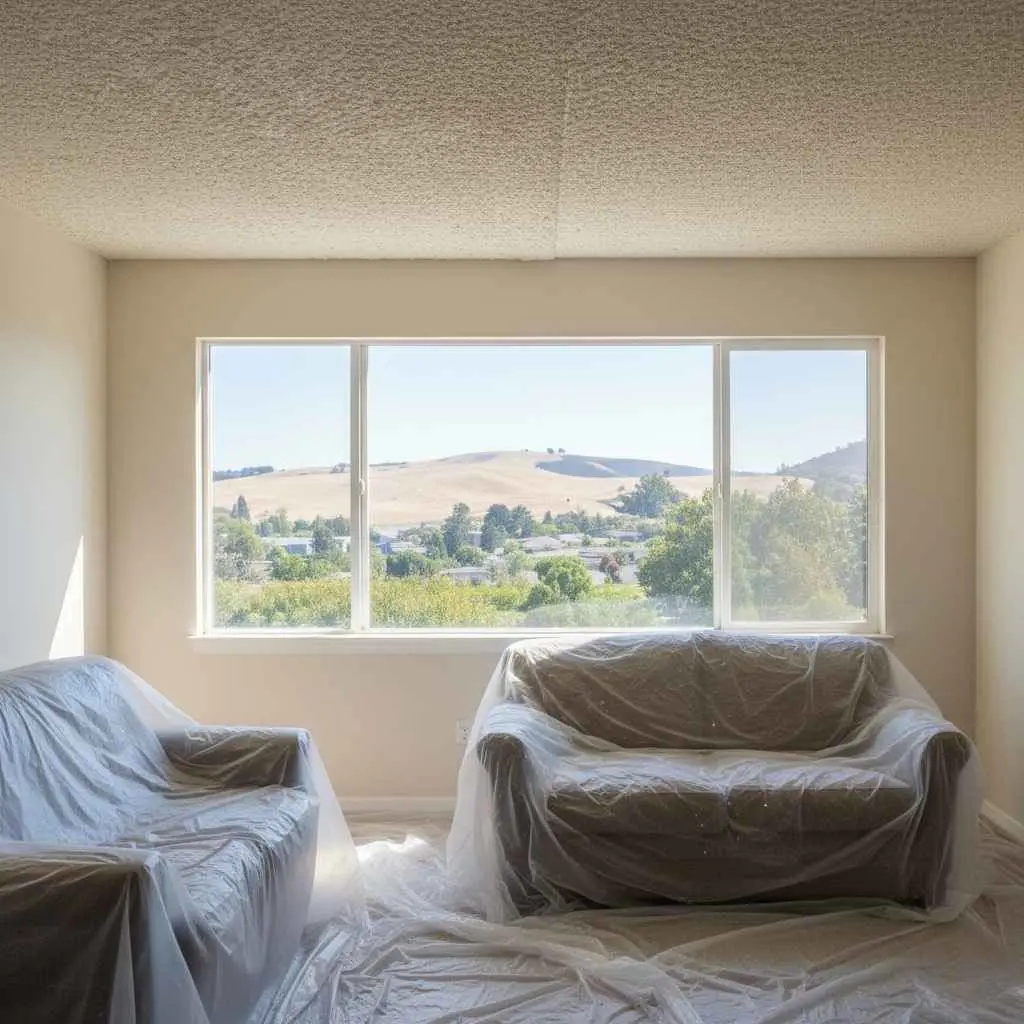
Step 2: Protecting Your Home
Professional crews prepare the area by:
- Covering floors and walls
- Sealing doorways
- Removing or covering furniture
- Shutting off HVAC vents
This containment prevents dust from spreading throughout your home.
Step 3: Softening the Texture
Water or a specialized solution is applied to loosen the popcorn material. This step allows easier and cleaner removal.
Professionals carefully control moisture levels to avoid damaging drywall.
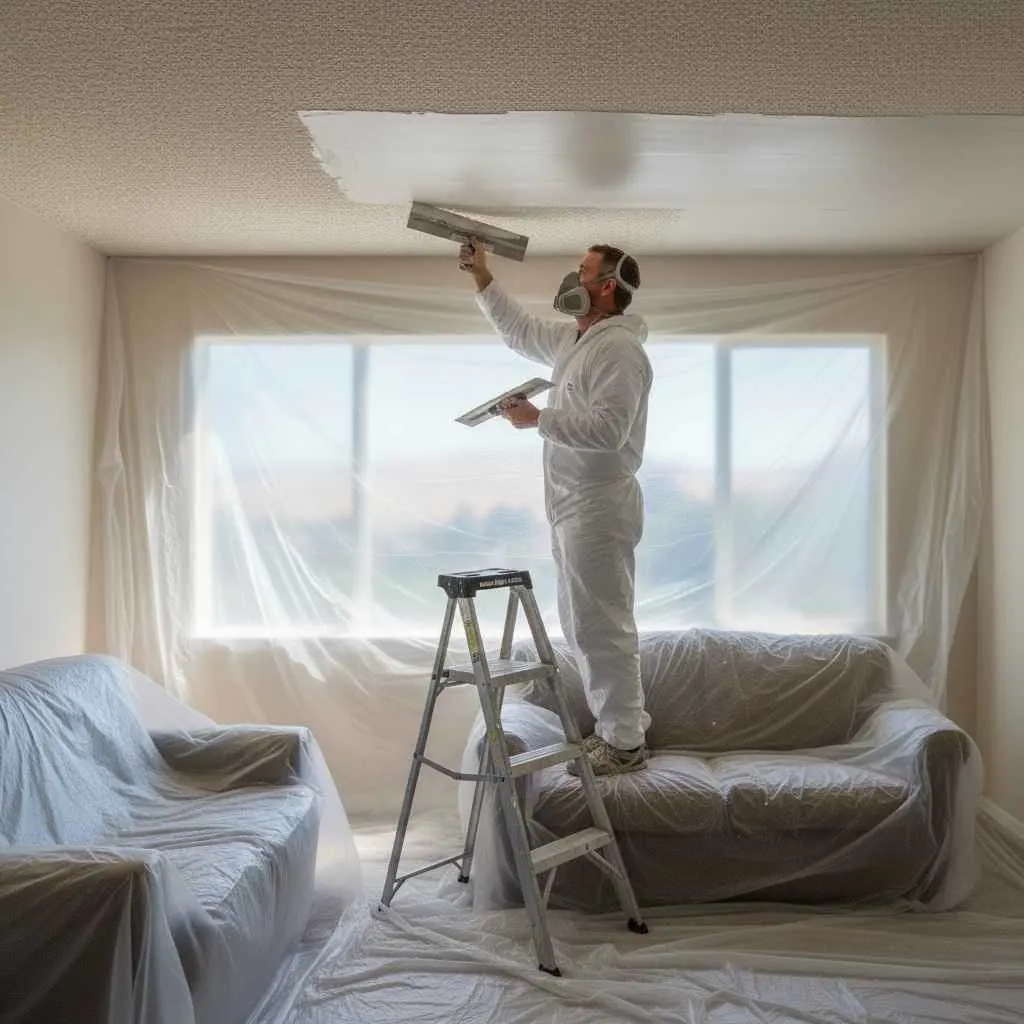
Step 4: Scraping the Popcorn Texture
Using specialized tools, technicians gently scrape off the softened texture.
What to Expect
- Steady, controlled process
- Minimal damage to drywall
- Consistent debris collection
This stage is where most of the texture is removed.
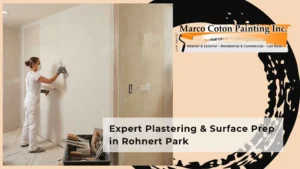
Step 5: Surface Repair and Smoothing
Once the texture is gone, imperfections often become visible.
Common Repairs
- Filling small dents
- Patching cracks
- Skim coating
The goal is a smooth, uniform surface ready for finishing.
Step 6: Sanding and Final Prep
After repairs dry, ceilings are lightly sanded to achieve a perfectly smooth finish. Dust is controlled using professional equipment and vacuum systems.
Step 7: Priming and Painting
A high-quality primer seals the surface. Then ceilings are painted, usually with a flat or matte finish for a clean look.
This step transforms the room dramatically.
How Long Does Popcorn Ceiling Removal Take?
Most single-room projects take one day. Whole-house projects may take several days, depending on size and condition.
Professionals schedule work efficiently to minimize disruption.
Common Challenges Homeowners Face
- Hidden drywall damage
- Multiple repair layers
- Asbestos discovery
- High ceilings or vaulted spaces
Professional teams are equipped to handle these challenges safely.
Why Professional Removal Is Better Than DIY
DIY popcorn ceiling removal seems simple online, but it carries risks.
Problems with DIY
- Inhaling harmful dust
- Damaging drywall
- Inadequate containment
- Poor finish quality
Professional services ensure safety, speed, and superior results.
Health and Safety Considerations
Popcorn texture can release fine particles when disturbed. Professionals use:
- Respirators
- Containment systems
- HEPA vacuums
- Protective clothing
This protects both workers and homeowners.
Cost Factors for Popcorn Ceiling Removal
Pricing depends on:
- Square footage
- Ceiling height
- Asbestos testing results
- Amount of repairs needed
Professional estimates provide transparent pricing upfront.
Benefits of Removing Popcorn Ceilings
- Brighter rooms
- Modern appearance
- Increased home value
- Easier maintenance
- Improved air quality
It’s one of the most noticeable interior upgrades.
When Is the Best Time to Remove Popcorn Ceilings?
Many homeowners schedule removal:
- Before painting
- During remodeling
- Before moving in
- When replacing lighting
Combining projects saves time and money.
Why Petaluma Homeowners Choose Professional Services
Local professionals understand the age and construction style of Petaluma homes. They know how to handle older materials and deliver consistent, high-quality finishes.
What You Can Expect After Removal
Your home will feel:
- Cleaner
- Brighter
- More modern
- Easier to maintain
Smooth ceilings dramatically change how a space looks and feels.
Final Thoughts
Knowing what to expect during popcorn ceiling removal in Petaluma helps homeowners plan confidently. From inspection and preparation to smooth finishing and painting, professional removal delivers safer, cleaner, and more attractive results.
Call to Action
Ready to upgrade your ceilings? Call today, book your service, or get a quote for professional popcorn ceiling removal in Petaluma. Let experienced professionals transform your home with clean, smooth ceilings that last.