Popcorn ceilings, once a popular home design feature decades ago, have quickly become one of the most common remodeling projects for modern homeowners. While removing the popcorn texture is a great way to give your home a cleaner, more updated look, the real challenge begins after the removal. Smoothing ceilings properly without causing damage is a delicate process that requires skill, patience, and the right techniques.
For many homeowners in Petaluma, trying to tackle this job as a DIY project can lead to cracks, uneven finishes, or even costly repairs down the road. That’s why working with professionals who understand how to smooth ceilings efficiently and safely is often the best investment for your home.
In this blog, we’ll break down what goes into smoothing ceilings after popcorn removal, and why hiring a trusted service in Petaluma can save you time, stress, and unnecessary damage.
Why Homeowners Are Removing Popcorn Ceilings


Popcorn ceilings were popular throughout the mid-to-late 20th century because they offered a fast, cost-effective way to cover imperfections in ceilings. However, times have changed, and so have design trends.
Top reasons Petaluma homeowners are removing popcorn ceilings include:
- Modern aesthetic appeal — smooth ceilings create a brighter, cleaner look.
- Easier maintenance — smooth surfaces are less likely to trap dust, allergens, or cobwebs.
- Improved air quality — old popcorn ceilings can hold dust and, in some cases, harmful materials.
- Higher resale value — updated ceilings often increase a home’s market appeal.
Removing the popcorn texture is just the first step. Achieving a flawless, smooth finish is where professional skill really matters.
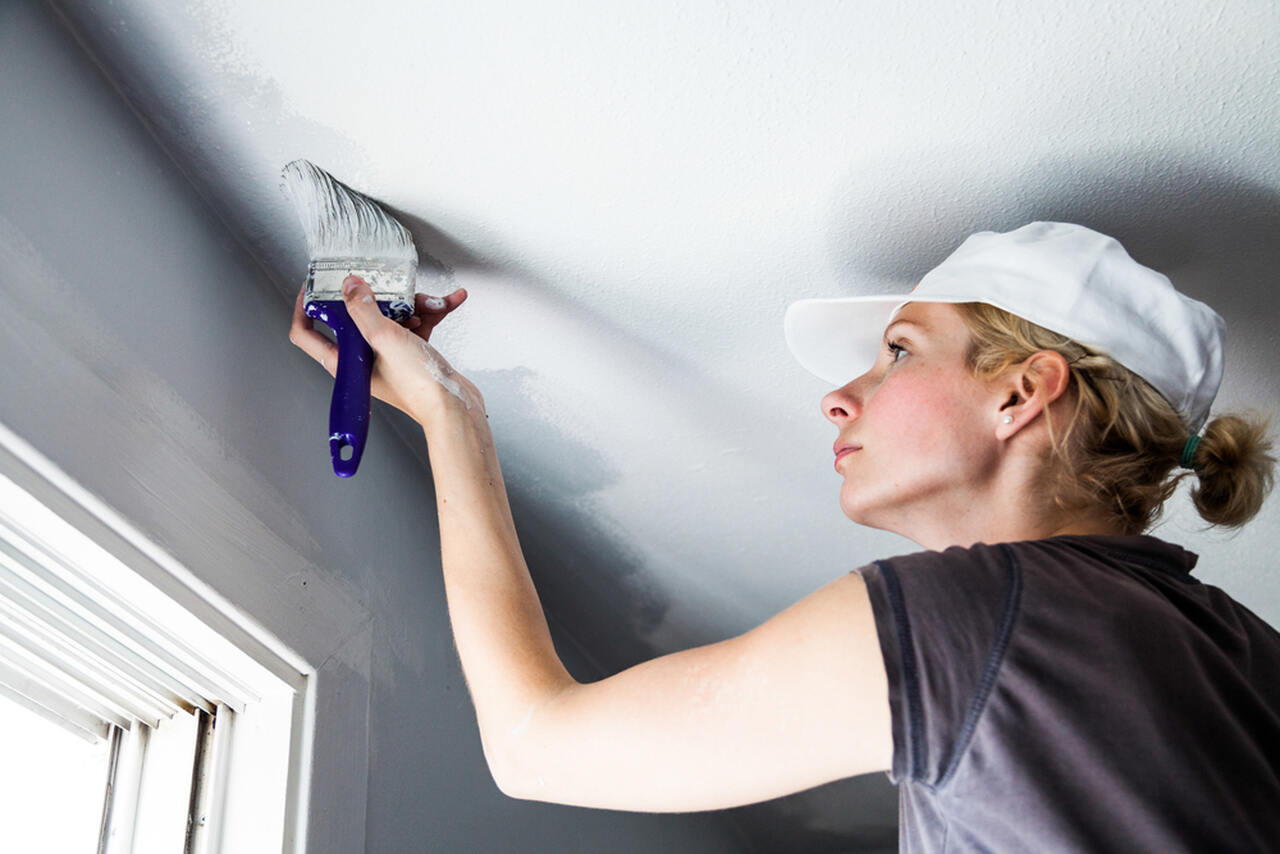
Step 1: Proper Preparation Prevents Damage
Before any smoothing can happen, preparation is key. Rushing through the prep stage is one of the biggest causes of ceiling damage during popcorn removal projects.
Professional preparation typically includes:
- Covering floors and furniture with protective sheeting.
- Sealing off HVAC vents to prevent dust circulation.
- Use low-pressure removal techniques to avoid gouging the drywall.
- Applying proper moisture levels to soften the texture before scraping.
Pro Tip: Popcorn texture can hide underlying flaws. Professionals inspect the ceiling after removal to identify cracks, loose tape seams, or drywall imperfections before proceeding with smoothing.
Step 2: Patching and Repairing Imperfections

Once the popcorn is gone, the ceiling’s imperfections become visible. Even the most carefully removed ceiling will have some blemishes or uneven areas.
This step involves:
- Filling dents, nail holes, or gouges with joint compound.
- Taping and mudding seams to create a seamless surface.
- Sanding between layers to ensure the ceiling is level.
- Addressing water stains, cracks, or previous patch jobs.
A skilled professional uses multiple thin layers of joint compound rather than one thick layer. This helps prevent cracking or peeling down the line.
Pro Tip: Skipping or rushing this stage is one of the most common reasons ceilings end up with uneven finishes after popcorn removal.
Step 3: Skim Coating for a Perfect Finish

The most critical part of creating a smooth ceiling after popcorn removal is skim coating. This involves applying a thin, even layer of joint compound across the entire ceiling surface.
A proper skim coat does three important things:
- Creates a uniform surface for painting.
- Fills in micro-imperfections that sanding can’t fix.
- Adds a subtle, modern sheen that enhances natural light in a room.
Skim coating takes precision. If done incorrectly, it can lead to streaks, trowel marks, or peeling paint later on. That’s why it’s usually best handled by professionals who know how to control compound thickness, drying time, and sanding technique.
Pro Tip: Two skim coat layers are typically recommended for a flawless finish, with light sanding in between to keep the surface smooth.
Step 4: Sanding Without Overworking the Surface
Once the skim coat dries, gentle sanding smooths out any remaining imperfections. This is where many DIY projects go wrong; excessive pressure or uneven sanding can damage the drywall and create waves on the ceiling surface.
Professional sanding involves:
- Use fine-grit sandpaper or pole sanders.
- Light, controlled movements.
- Dust-control equipment to keep the air clean.
- Checking for consistent smoothness under different lighting angles.
A smooth ceiling isn’t just about the technique; it’s also about knowing when to stop sanding.
Pro Tip: Professionals often use work lights positioned at an angle to catch even the smallest imperfections before moving on to priming and painting.
Step 5: Priming and Painting for a Flawless Look

Once the ceiling surface is perfectly smooth, it’s time for primer and paint. Priming is crucial because it seals the drywall and ensures that the paint adheres evenly.
The painting process typically includes:
- Applying a high-quality drywall primer to seal the surface.
- Light sanding after primer (optional) for ultra-smooth results.
- Painting with flat or matte ceiling paint to reduce glare.
- Use long, even strokes to prevent lap marks or streaks.
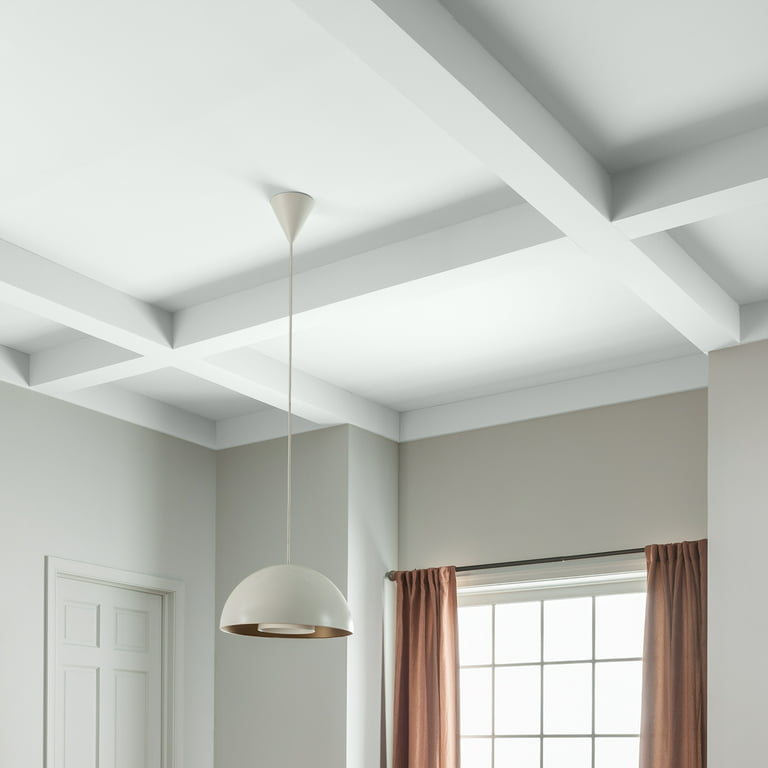
The final result is a crisp, modern ceiling that instantly transforms the look and feel of any room in your Petaluma home.
Pro Tip: Choosing a flat paint finish helps hide small imperfections and creates a clean, seamless look.
Why Hire Professionals for Ceiling Smoothing in Petaluma
While DIY popcorn removal videos may make the process seem easy, smoothing ceilings without causing damage requires experience and skill.
Here’s why homeowners in Petaluma often choose professional ceiling smoothing services:
- Expertise: Professionals know how to prep, skim coat, and finish without damaging the drywall.
- Time savings: What takes a homeowner days can be completed in a fraction of the time by a trained crew.
- Cleaner process: Professionals use dust control systems and proper cleanup methods.
- Flawless finish: A smooth, even ceiling boosts both visual appeal and property value.
- Peace of mind: Professional work comes with quality assurance and, in many cases, warranties.
Pro Tip: If your home was built before 1980, it’s important to have your ceiling tested for asbestos before removal. Professionals are trained to handle these situations safely and legally.
Tips to Maintain a Smooth Ceiling After the Project
Once your ceiling has been smoothed and painted, a little maintenance goes a long way in keeping it looking fresh for years to come.
- Avoid hanging heavy objects from the ceiling.
- Keep indoor humidity levels balanced to prevent cracks.
- Dust gently with a microfiber duster instead of rough cloths.
- Repaint with a fresh coat every few years to maintain brightness.
Realistic Project Timeline
Many homeowners wonder how long ceiling smoothing takes after popcorn removal. While the timeline depends on square footage and ceiling condition, a typical Petaluma home project takes about 2–5 days:
| Step | Estimated Time |
|---|---|
| Prep & Removal | 1 day |
| Patching & Repairs | 1 day |
| Skim Coating | 1–2 days (with drying) |
| Sanding & Painting | 1 day |
This timeline can vary depending on whether additional repairs are needed.
Call to Action: Make Your Ceilings Look Brand New
Transforming your Petaluma home starts from the top down, and nothing makes a space feel more modern than smooth, flawless ceilings. If you’re ready to remove outdated popcorn texture and achieve a clean, elegant finish, let our expert ceiling team handle the job.
We provide professional popcorn removal and ceiling smoothing services designed to protect your walls, avoid costly mistakes, and deliver showroom-quality results every time.
Contact us today to schedule your free ceiling consultation and give your home the fresh, updated look it deserves.